

Maintaining accurate financial records is crucial for any business. Automating the transfer of PayPal transaction data to Google Sheets can save time and reduce errors.
This detailed guide will walk you through integrating PayPal with Google Sheets using Zapier, making your data management seamless and efficient.
Setting Up Your Tools
Before you begin, ensure you have the following tools set up:
1. PayPal Account
Ensure you have an active PayPal account with transactions you want to monitor. You may need administrative access to enable Zapier integration.
2. Google Sheets
Set up a Google Sheets spreadsheet where you’ll store your PayPal transaction data. Create columns for the necessary fields, such as Date, Amount, Payer Email, Transaction ID, etc.
3. Zapier Account
Sign up for a Zapier account at zapier.com. The free plan allows for a limited number of Zaps (automated workflows), but you might need a premium plan for extensive use.
Understanding Zapier
Zapier is a web-based service that connects different apps, allowing them to work together through triggers (events that start the workflow) and actions (tasks that the workflow performs). In this case, a PayPal transaction (trigger) will prompt Zapier to send the data to Google Sheets (action).
Creating Your Zap
Let’s create your first Zap to automate the transfer of PayPal transaction data to Google Sheets:
1. Initiate A Zap

- Log in to Zapier.
- Click on “Make a Zap” to start creating a new Zap.
- Give your Zap a name, such as “PayPal to Google Sheets Integration.”
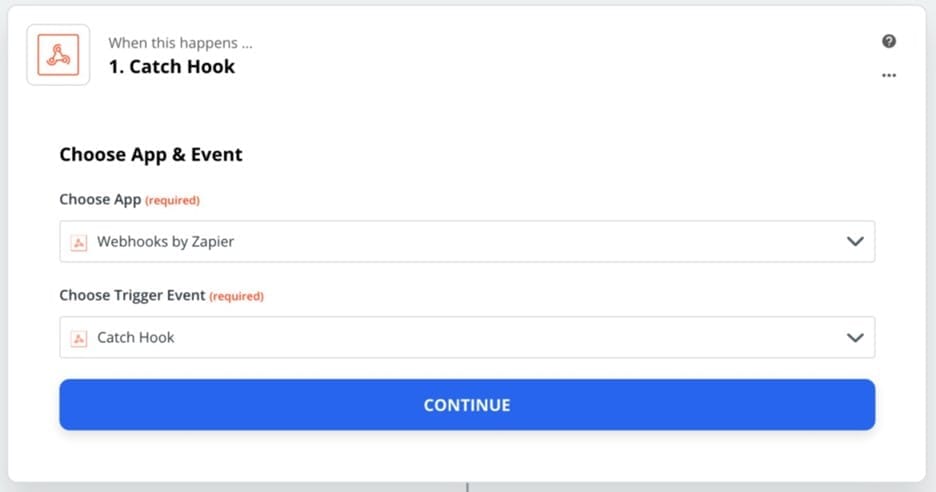
2. Select PayPal as the Trigger App
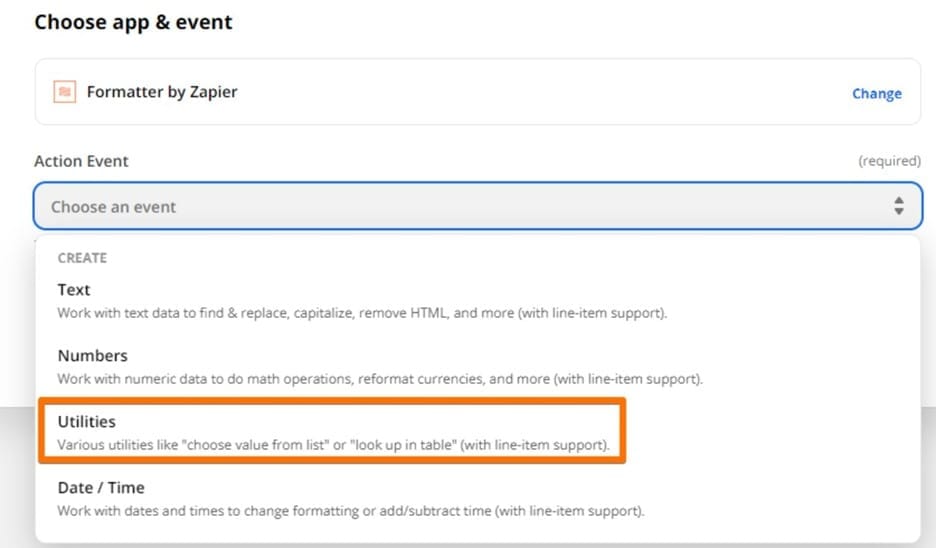
- Go to the “Choose App & Event” section.
- Search for PayPal and select it.
- Choose the event that will trigger the Zap. For instance, “Successful Sale” can be selected to capture successful transactions.
Configuring PayPal Trigger
Customize the PayPal trigger settings to ensure the Zap captures the relevant data:
1. Connect PayPal
- Click on “Sign in to PayPal” to connect your PayPal account to Zapier. You’ll need to authorize Zapier to access your PayPal data.
- Once connected, Zapier will test the connection to ensure it’s working correctly.
2. Setting Up the Trigger
- Customize the trigger settings by specifying the transaction types (e.g., sales, refunds) you want to monitor.
- You may need to test the trigger to ensure Zapier correctly captures transaction data. Zapier will fetch recent transactions to verify the setup.
Connecting Google Sheets
Now, let’s set up the action where PayPal data will be sent to Google Sheets:
1. Authenticating Google Sheets
- In the “Choose App & Event” section, search for and select Google Sheets.
- Choose the “Create Spreadsheet Row” action, which will add a new row to your specified Google Sheet for each new PayPal transaction.
- Click “Sign in to Google Sheets” and allow Zapier to access your Google account.
2. Specifying the Spreadsheet
- Select the specific spreadsheet and worksheet where you want the PayPal transaction data to be recorded.
- Ensure your Google Sheet has columns matching the data you want to capture (e.g., Date, Amount, Payer Email).
Mapping Transaction Data
Correctly mapping PayPal transaction data to the corresponding Google Sheets columns is crucial. Here’s how to do it:
- Zapier will display a list of fields from your PayPal transactions and corresponding columns from your Google Sheet.
- Match each PayPal field to the appropriate Google Sheets column. For example, map the “Transaction Date” field to the “Date” column, the “Amount” field to the “Amount” column, and so on.
- This step ensures that data from each PayPal transaction correctly populates your Google Sheet.
Testing Your Integration
Before going live, test your Zap to ensure it functions correctly. Zapier allows you to run a test to see if the transaction data from PayPal is correctly transferred to Google Sheets. Execute a test transaction in PayPal or use existing transaction data to test the Zap. Then, check your Google Sheet to confirm that the data appears correctly in the designated columns.
Enabling the Zap
After successful testing, enable your Zap to automate data transfer:
- Turn on your Zap by toggling the switch at the top of the Zap editor.
- From this point forward, every new PayPal transaction that meets your criteria will automatically be added to your Google Sheet.
Monitoring and Maintenance
Regular monitoring and maintenance ensure ongoing smooth operation:
Monitoring Performance
- Regularly check the Zapier dashboard to monitor the performance of your Zap. This helps ensure it’s running smoothly and efficiently.
- Review the transaction data in your Google Sheet periodically to verify accuracy.
Troubleshooting
- If you encounter any issues, Zapier provides detailed error messages and logs. Use these to identify and resolve problems quickly.
- Ensure both PayPal and Google Sheets maintain their connections to Zapier. Re-authenticate accounts if necessary.
Modifying the Zap
- As your business needs evolve, you may need to modify the Zap. For instance, add new fields or change the trigger criteria.
- Zapier allows you to edit existing Zaps easily. Just return to the Zap editor, make your changes, and re-test.
Deactivating the Zap
- If you need to pause the automation, you can temporarily deactivate the Zap. Toggle the switch off in the Zap editor.
- This can be useful for performing maintenance or making significant updates to your Google Sheet or PayPal account.
Tips & Tricks
Use the following tips to make the most of the merger:
- Ensure labels are clear and consistent in Google Sheets.
- Utilize Zapier filters to specify and streamline transaction transfers.
- Regularly update Zapier for optimal performance.
- Conduct periodic tests to verify functionality.
- Monitor error logs for prompt issue resolution.
- Maintain regular backups of Google Sheets data for security and continuity.
Conclusion
Automating the transfer of PayPal transaction data to Google Sheets using Zapier significantly streamlines financial data management. This integration saves time, reduces errors, and ensures that your financial records are always up-to-date and accurate.
By following this comprehensive guide, you can set up and optimize this integration, allowing you to focus more on analyzing your data and making informed business decisions. Embrace automation with Zapier and transform your financial workflows for better efficiency and effectiveness.